USER MANUAL
1 Getting Started
-
2 Installation and Removal detail_view
3 Some Notes in User Interfaces
4 General Configuration
5 Bluetooth Pairing and Unpairing
6 Client Device Settings and Bluetooth Connection
7 Client Device Control
8 Configuration for Network Connection
9 Screen Mirroring & Remote Control in Mirroring Screen
10 License Management
2.2 Installation and Removal on macOS
2.2.1 Installation
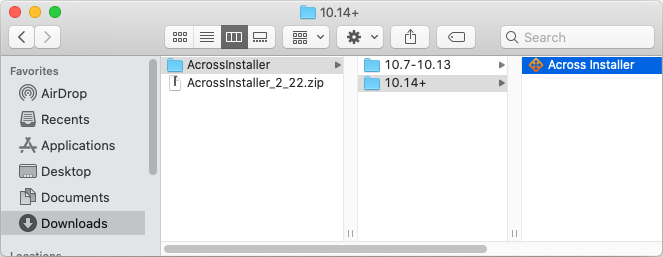
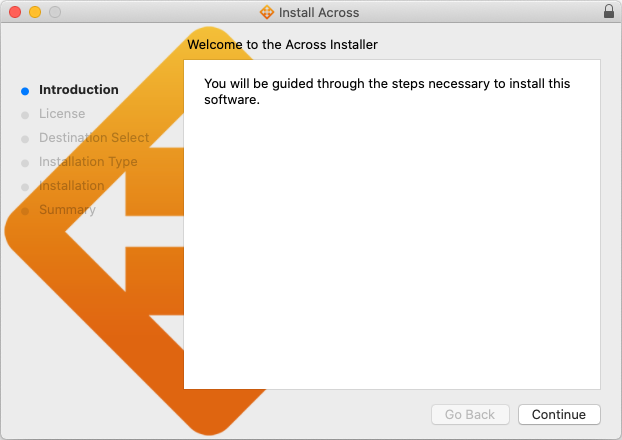
Download & Launch the across Installer: Download the zipped across installer file and unzip it. You will see two directories differentiated by macOS version. Go into one of them depending on your macOS version and launch the across Installer in there.
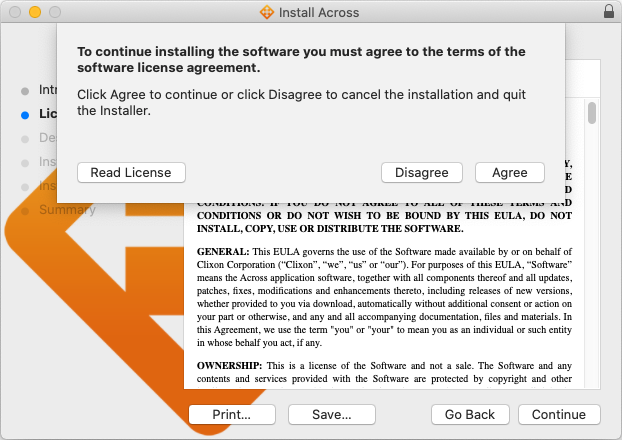
Agree & Confirm: Read carefully the across EULA on the installer's License Agreement phase and if you agree to all of its terms, click [Agree]. When the installer requests your password, enter your password.
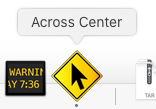
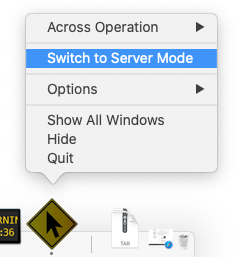
Get Started: Upon completion, you can see that across is running in the Dock. The across Client mode is the initial operation mode. You can switch to the across Server mode from the Dock icon menu.
- Open [System Preferences], and go to [Security & Privacy] and [Privacy]-tab. Click on the lock icon on the bottom left corner and enter password.
- For keyboard/mouse share, choose [Accessibility] from the left-pane, and then add /Applications/Across/Across Center.app to the right list.
- For file access from paired devices, choose [Full Disk Access] from the left-pane, and then add /Applications/Across/Across Center.app to the right list.
macOS 10.14 and later: macOS added a new security mechanism to prevent an app from controlling another app without the user's consent. That is, you are able to register an app explicitly as an exception in the allowed list from [System Preferences]. To do this, please follow the steps below:
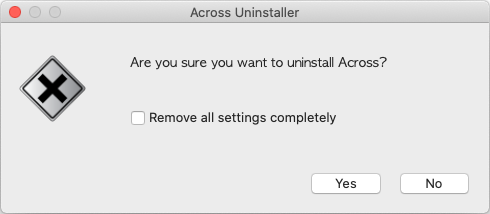
2.2.2 Removal
- Using Finder, go to /Applications/Across/ and launch [Across Uninstaller].
- You can cleanly remove across with all its settings by checking the [Remove all settings completely] in the uninstaller. When the uninstaller requests your password, enter your password.