USER MANUAL
1 Getting Started
-
2 Installation and Removal detail_view
3 Some Notes in User Interfaces
4 General Configuration
5 Bluetooth Pairing and Unpairing
6 Client Device Settings and Bluetooth Connection
7 Client Device Control
8 Configuration for Network Connection
9 Screen Mirroring & Remote Control in Mirroring Screen
10 License Management
2.1 Installation and Removal on Windows
2.1.1 Installation
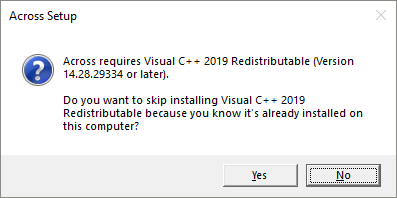
Download & Launch the across Installer: Launch the across Installer by double-clicking the downloaded AcrossSetup.exe. As across needs the Visual C++ Redistributable, installer will try to install it. If you know it has been already installed on your computer, you can skip installing it.
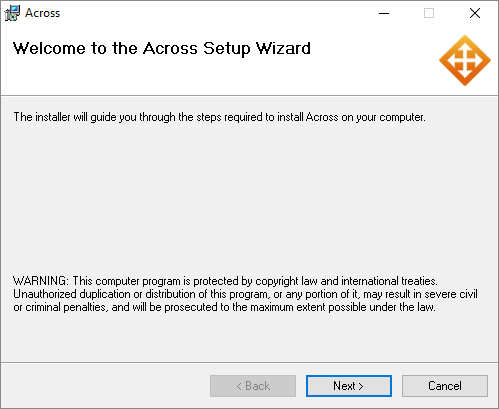
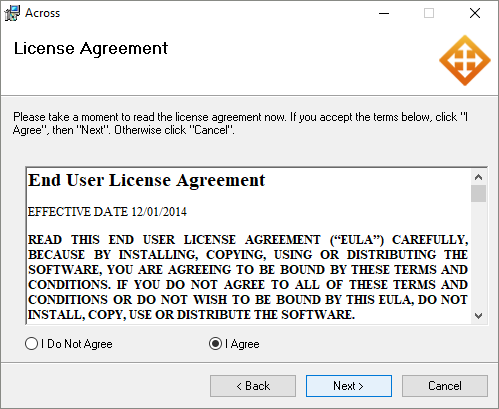
Agree to EULA: Read carefully the across EULA in the installer's License Agreement phase and if you agree to all of its terms, select [I Agree] and then click [Next].
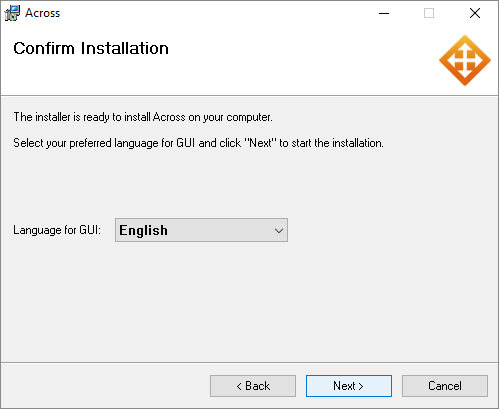
Confirm & Start Installing: Choose your preferred language for GUI and then click [Next]. The real installing phase starts, and when the UAC window asks "Do you want to allow the following program to make changes to this computer?", click [Yes].
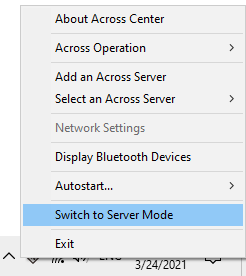
Get Started: Upon completion, you need to reboot your computer. After rebooting, you can see that across is running in the system tray. The across Client mode is the initial operation mode. You can switch to the across Server mode from the system tray menu.
2.1.2 Removal
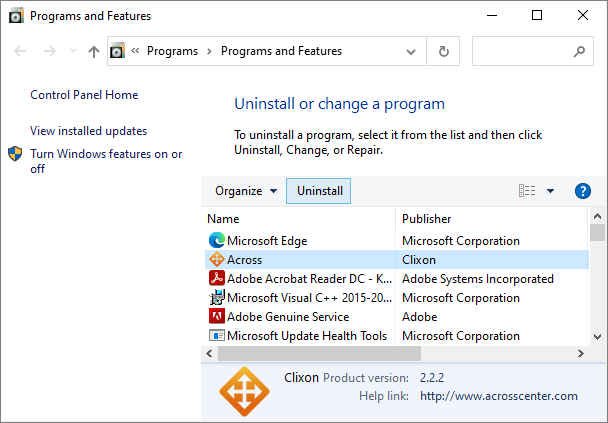
- Open [Programs and Features] by clicking the [Start] button, clicking [Control Panel], clicking [Programs], and then clicking [Programs and Features]. Select [Across], and then click [Uninstall].
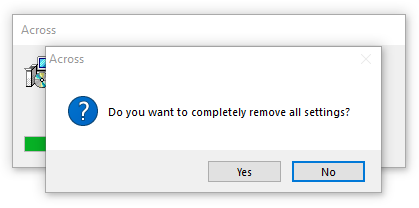
- During uninstalling, the uninstaller will ask whether you want to completely remove the across settings or not. If you want to preserve them, click [No]. Otherwise, click [Yes]. Upon completion of removal, you need to reboot your computer.